The eUnify Vendor Portal allows easy access to Work Orders and Invoices related to the vendor in uManage. The Vendor Portal is also the primary place for a vendor to add notes, mark Work Orders as completed, update contact information, and upload invoices.
To Log in:
Go to vendor.eunify.net, this is the login screen for the vendor portal. Use the login name and password that was provided by the association management company. If you do not have a password, you can use the 'Forgot your password' link to reset it.

My Profile:
The My Profile Page of your vendor account loads as the default page each time you log in. You can edit profile details and change your menu and highlight colors here.

Click on the menu items in the left menu and the tabs across the top of the page to see content related to each tab. The Association and Work Order Types tabs show the lists of Work Order Types and communities that are available for your company to be assigned to. If you are assigned to be eligible for work across all associations for the management company, the Association tab is greyed out, as in this screenshot example. The Documents and Contacts tabs show you any documents or contacts added to your vendor account. You can add or edit the contacts and uploaded documents on these tabs.

Invoices:
Use the Invoices menu item on the left side of the screen to view all the invoices tied to your company. Use the search fields across the top to filter for specific invoices. Here you can also add any invoice and send it to the management company. NOTE: You need to select an association before using the “Add Vendor Invoice” button.

In the pop-up window, add details and upload a copy of the new invoice. This should be uploaded as a PDF. Click the “Save” button to save the new invoice and make it visible to the management company.

Work Orders:
Click on the Work Orders menu item in the left-hand menu to see all Work Orders assigned to your company. Use the search filters above the list of Work Orders to filter the results on the page. Click on the PDF icon to the far right in the same row as a Work Order Clickto see a printable copy of Work Order details. Edit a Work Order by clicking on the edit icon next to the Work Order.

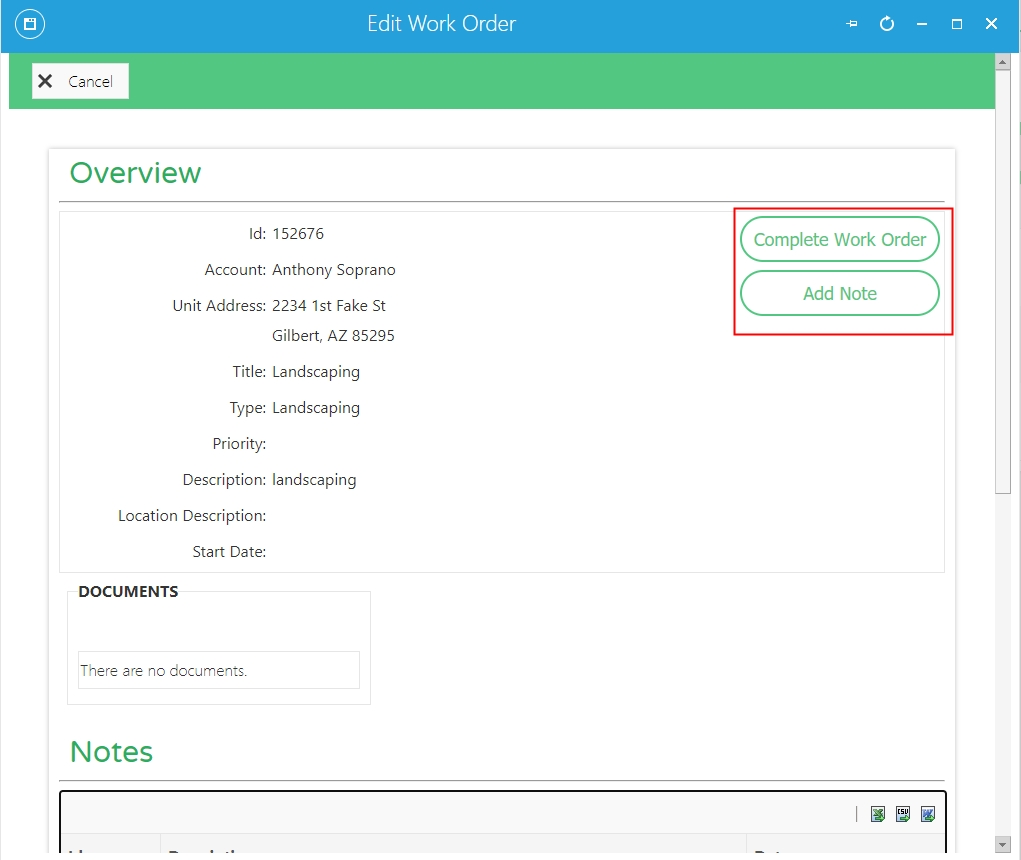
After clicking on the edit icon, the resulting pop-up window allows for viewing and adding notes and marking the Work Order as complete (click on the “Complete Work Order” button to mark it as complete). Any notes added will be visible to the management company.